The Cold Expedition Kit: Shooting in a Hostile Environment
I noticed it while cleaning the 24-70 after the shoot at Half Moon Island — a small, wrong kind of movement in the zoom barrel, a side-to-side wobble where there should have been none. I turned the lens over, looking for a mark, a scratch, some evidence of the moment it happened. Nothing. I still don't know exactly when or how. My best guess is that it caught the edge of the ship's rail or the zodiac hull at some point during a rapid gear transition, one of those moments when you're moving fast and not thinking about the equipment because you're thinking about the shot. The barrel still zoomed, still focused, still worked through the rest of the trip and all of Patagonia afterward. But it wiggled. And the repair bill, when I eventually sent it in back home, came to $800. Gear is a tool. Things happen. Antarctica just has a particularly efficient way of reminding you of both.
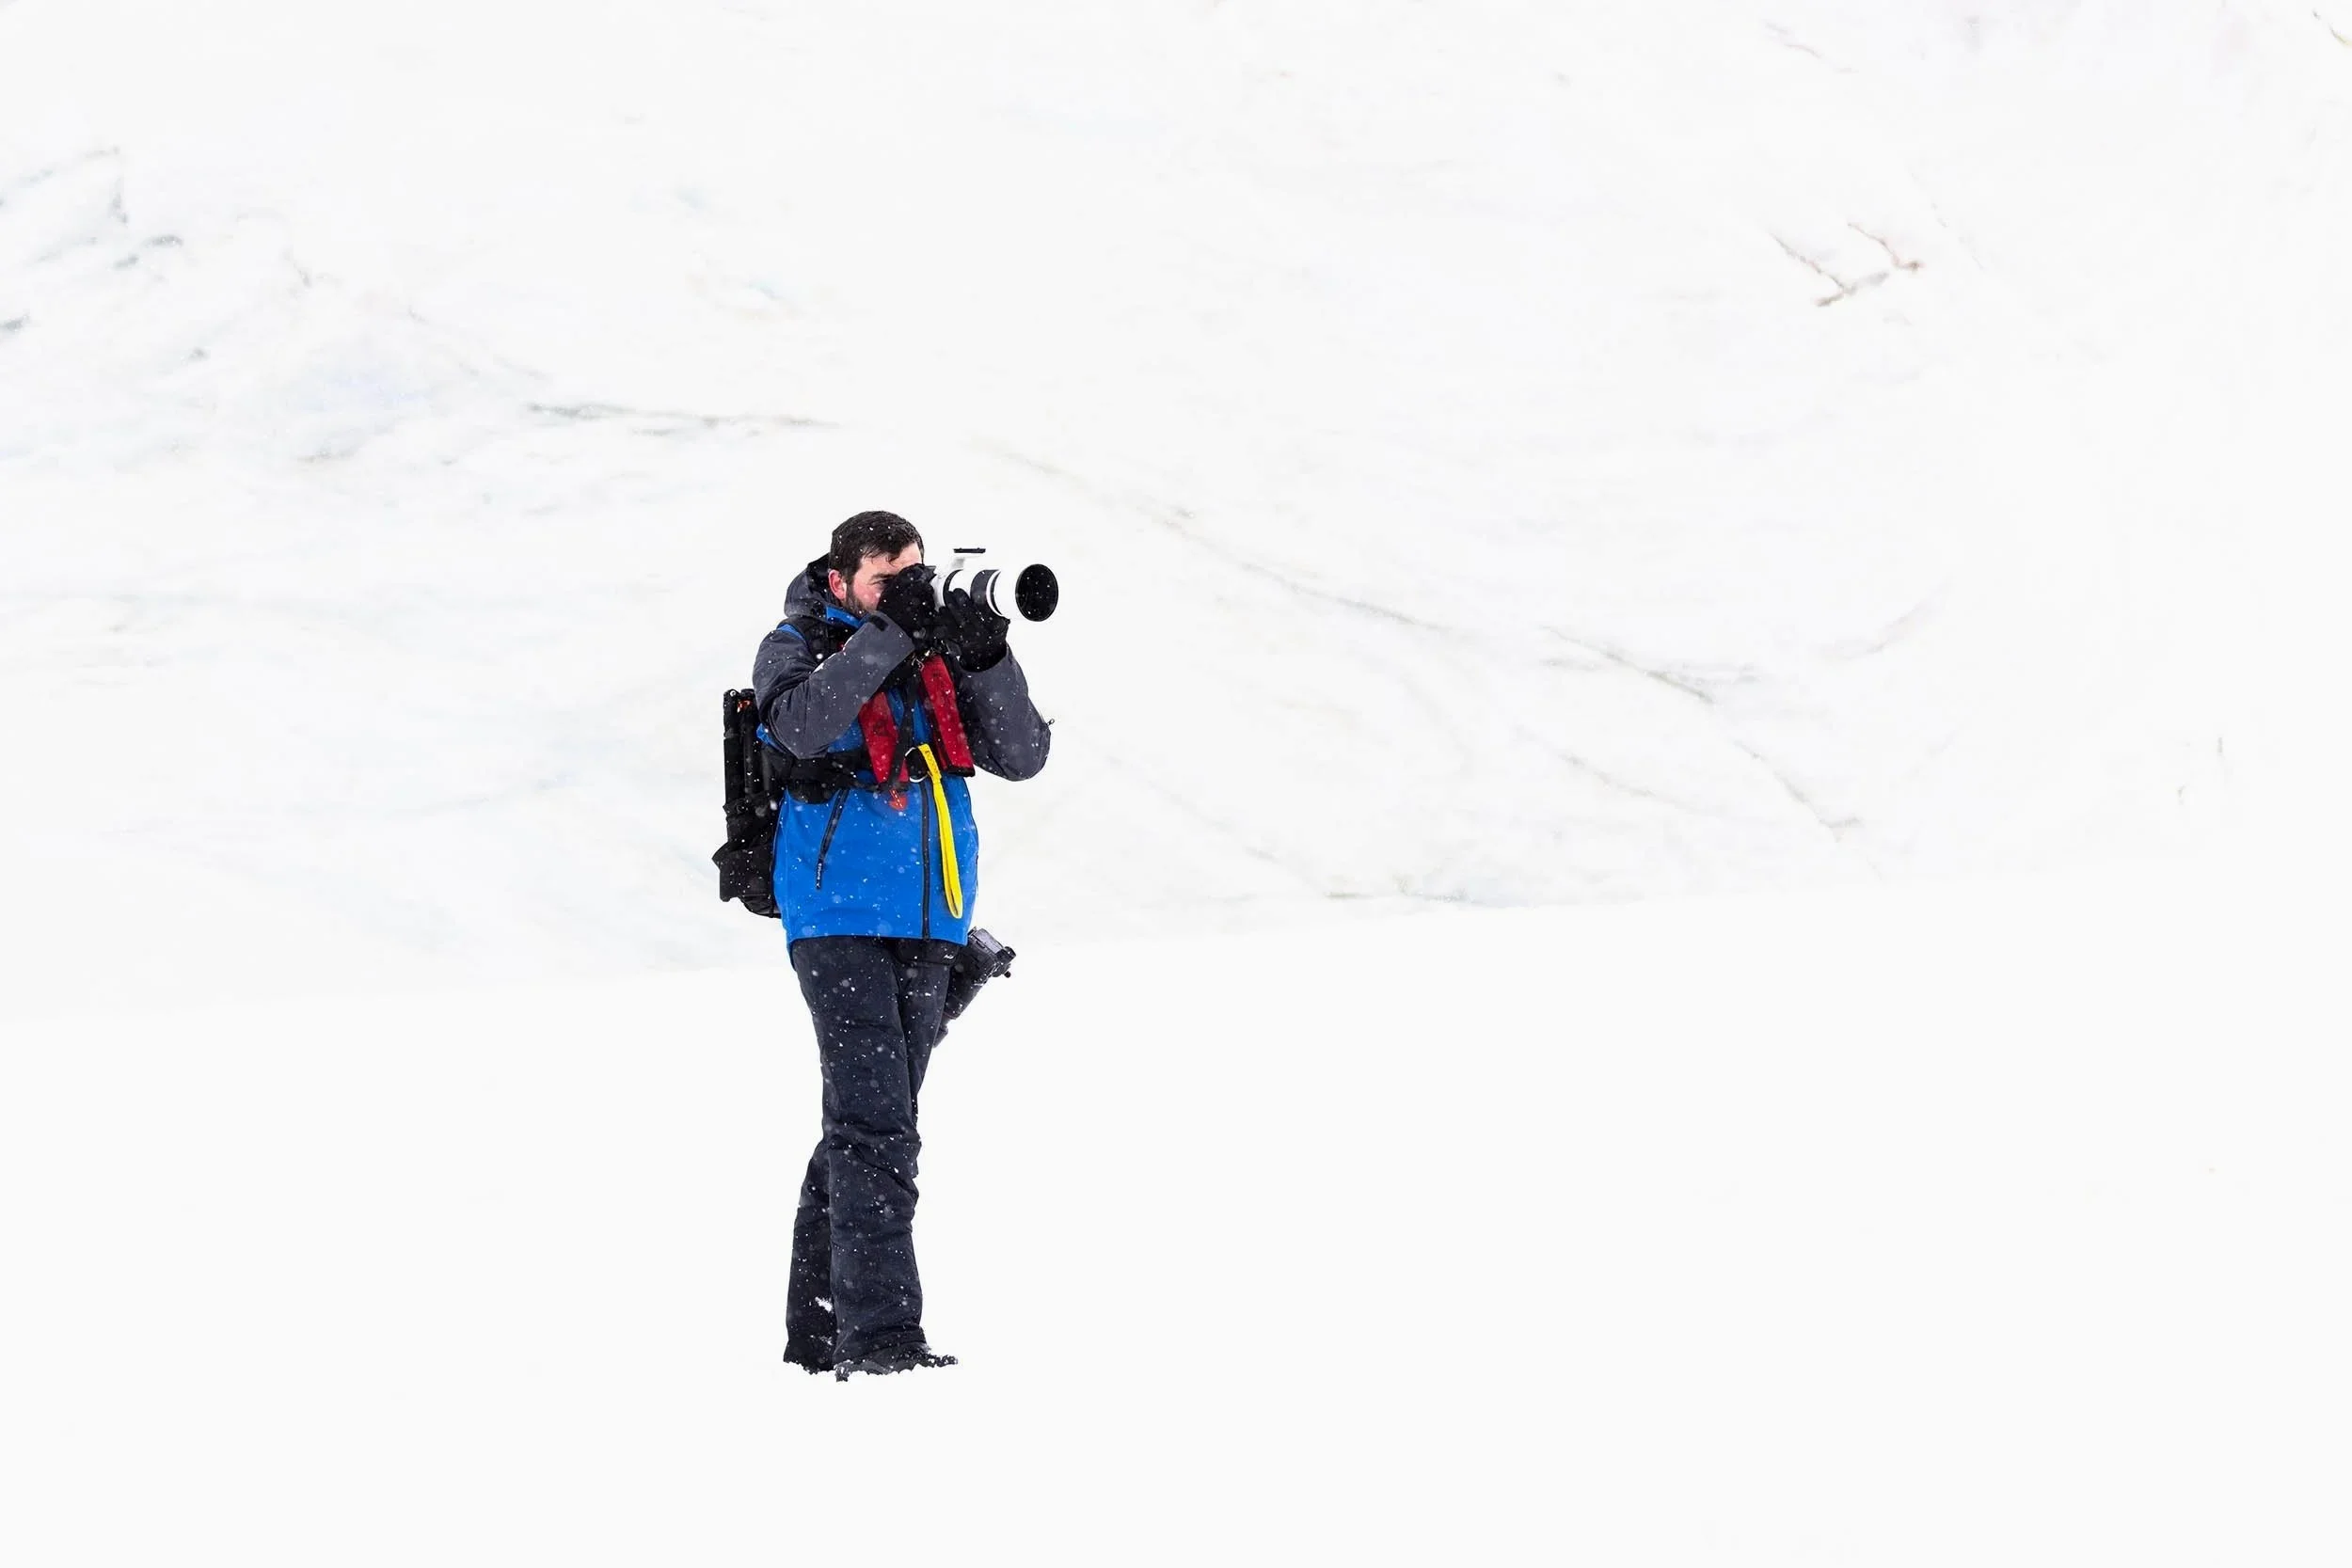
That’s me, kitted out in my expedition gear on Petermann Island in Antarctica. I’m slinging two cameras to cover the expansive range of this place: a Canon R5 with a 100-500mm lens, and another R5 with a 24-70mm lens. Photo courtesy Paul Ogle Jr.
Cold expedition environments — Antarctica, Svalbard, Greenland, Patagonia — share a common set of photographic demands: unpredictable wildlife, rapidly changing light, wet and hostile conditions, and no margin for under-preparation. The specific location changes; the discipline required to shoot well in it doesn't. This post draws on my Antarctica 2024 expedition with Aurora Expeditions, but the thinking applies across any high-latitude or cold expedition environment where the conditions are working against you as hard as the light is working for you.
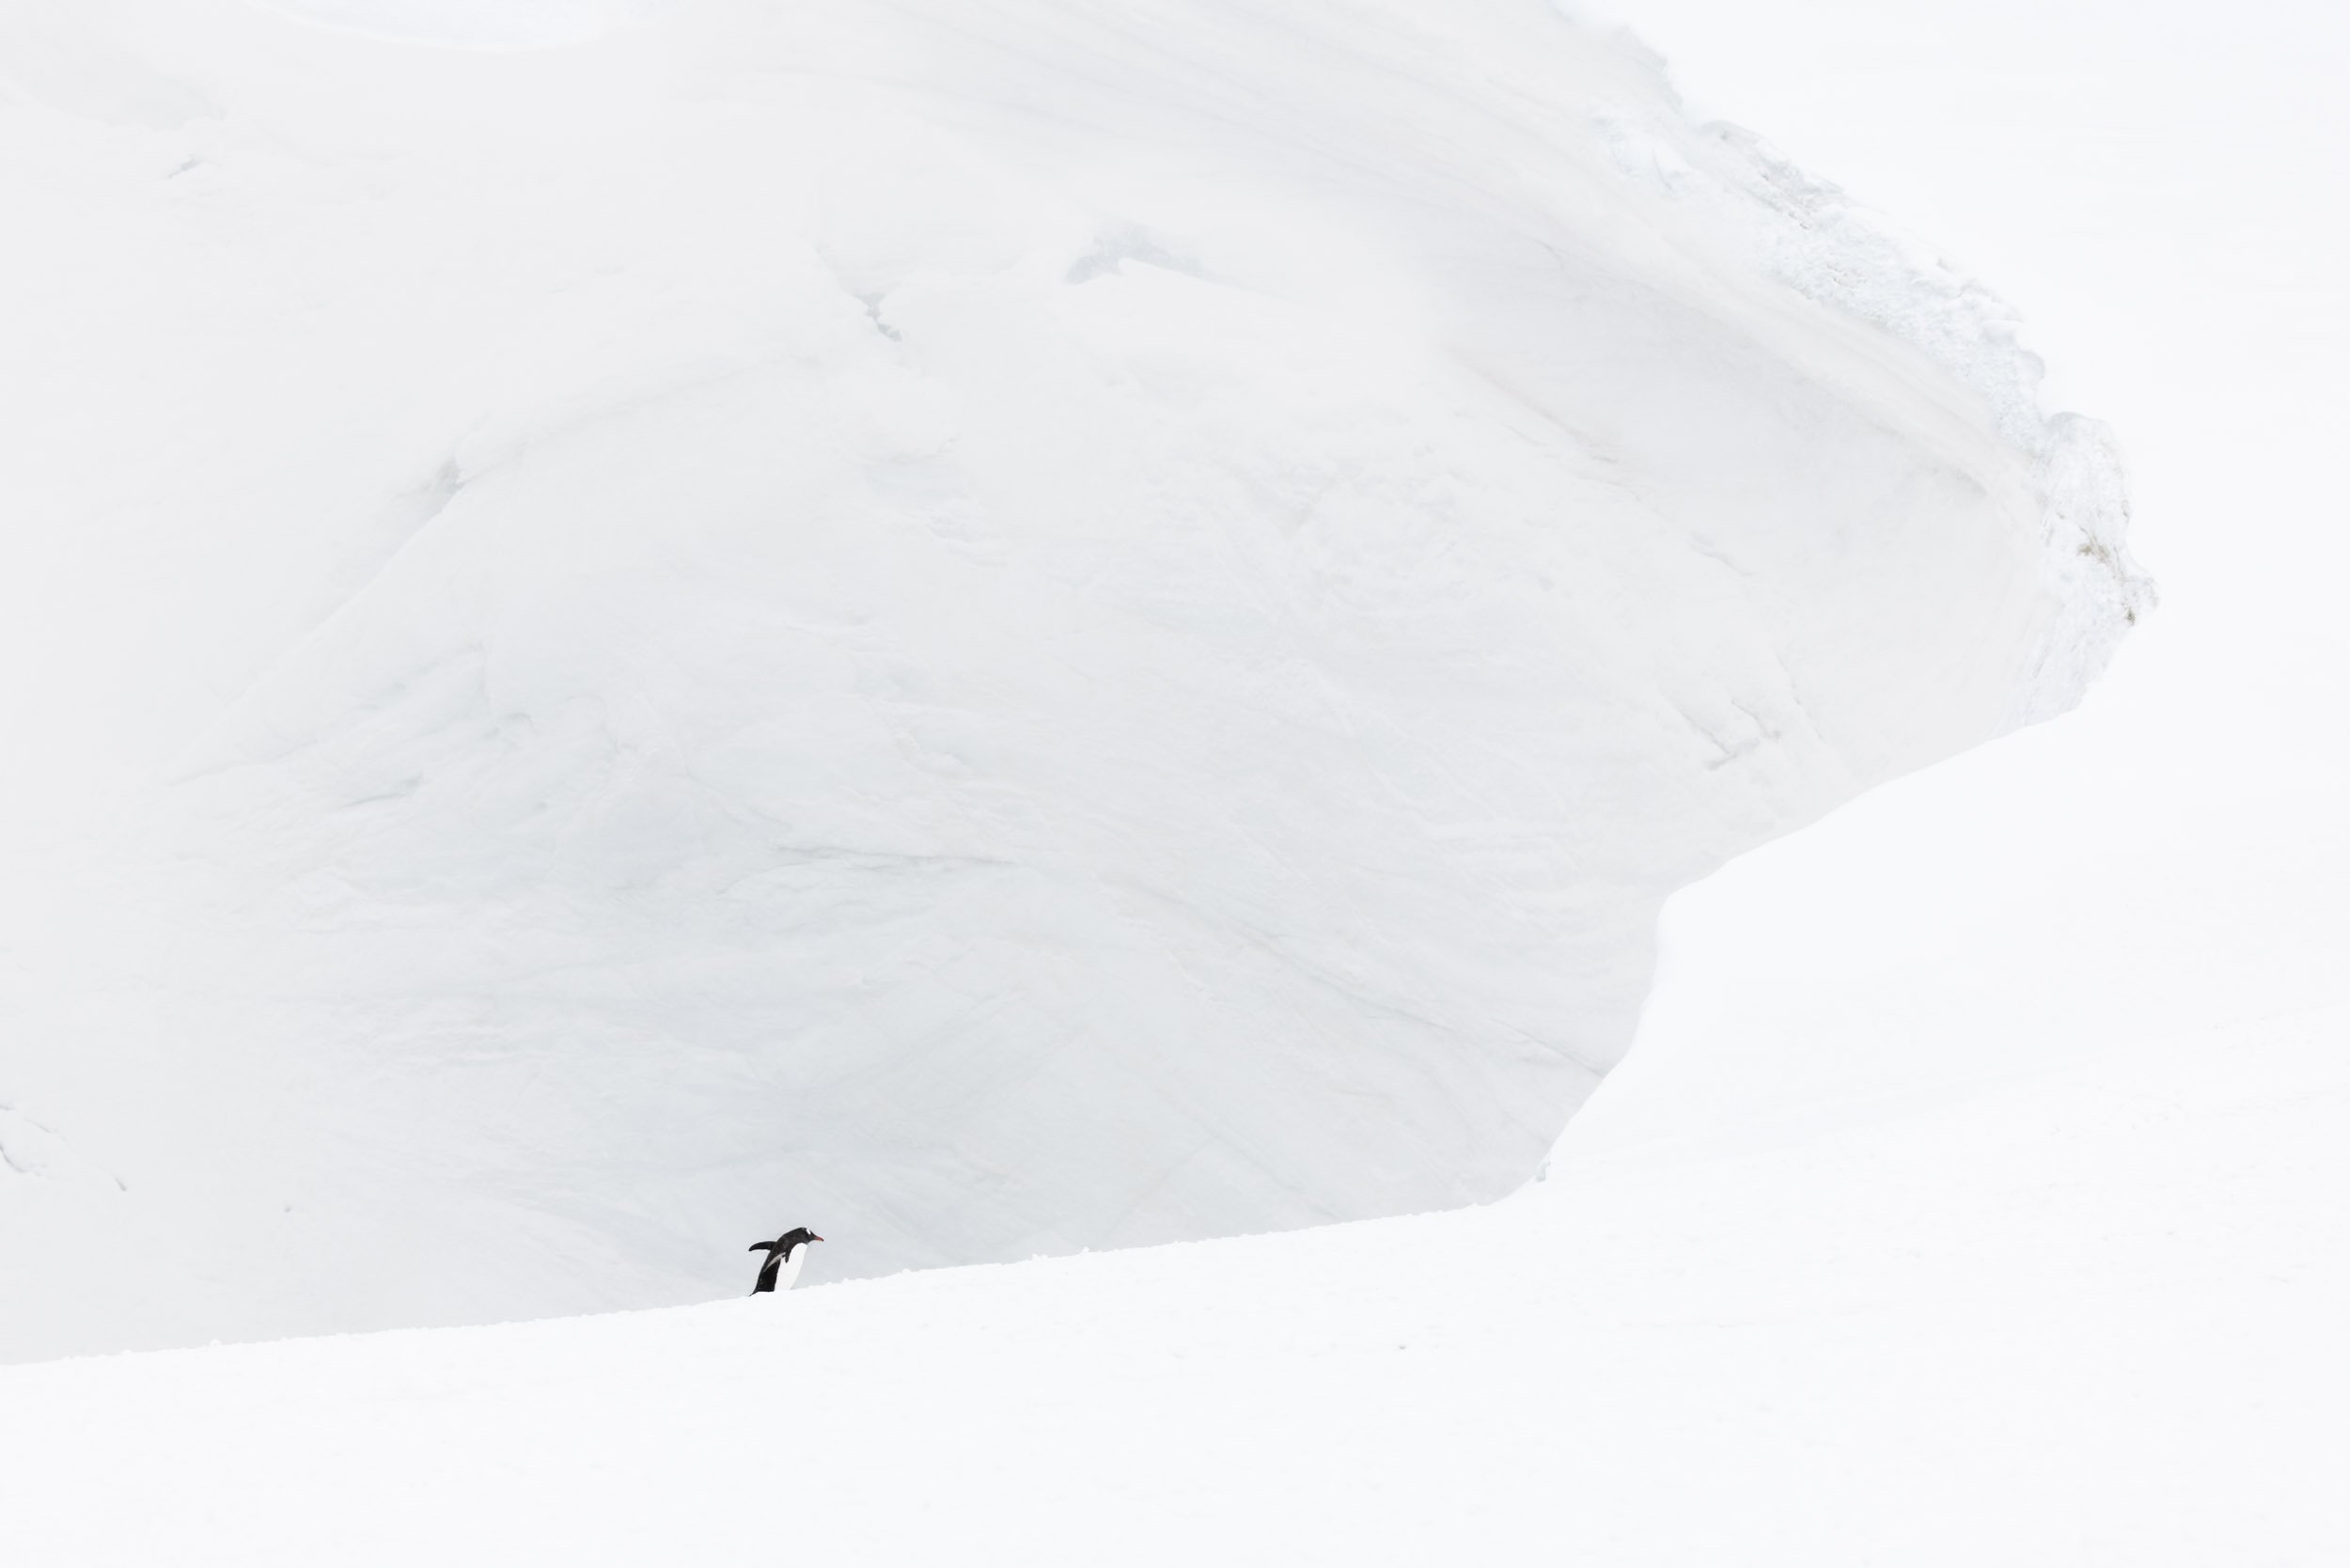
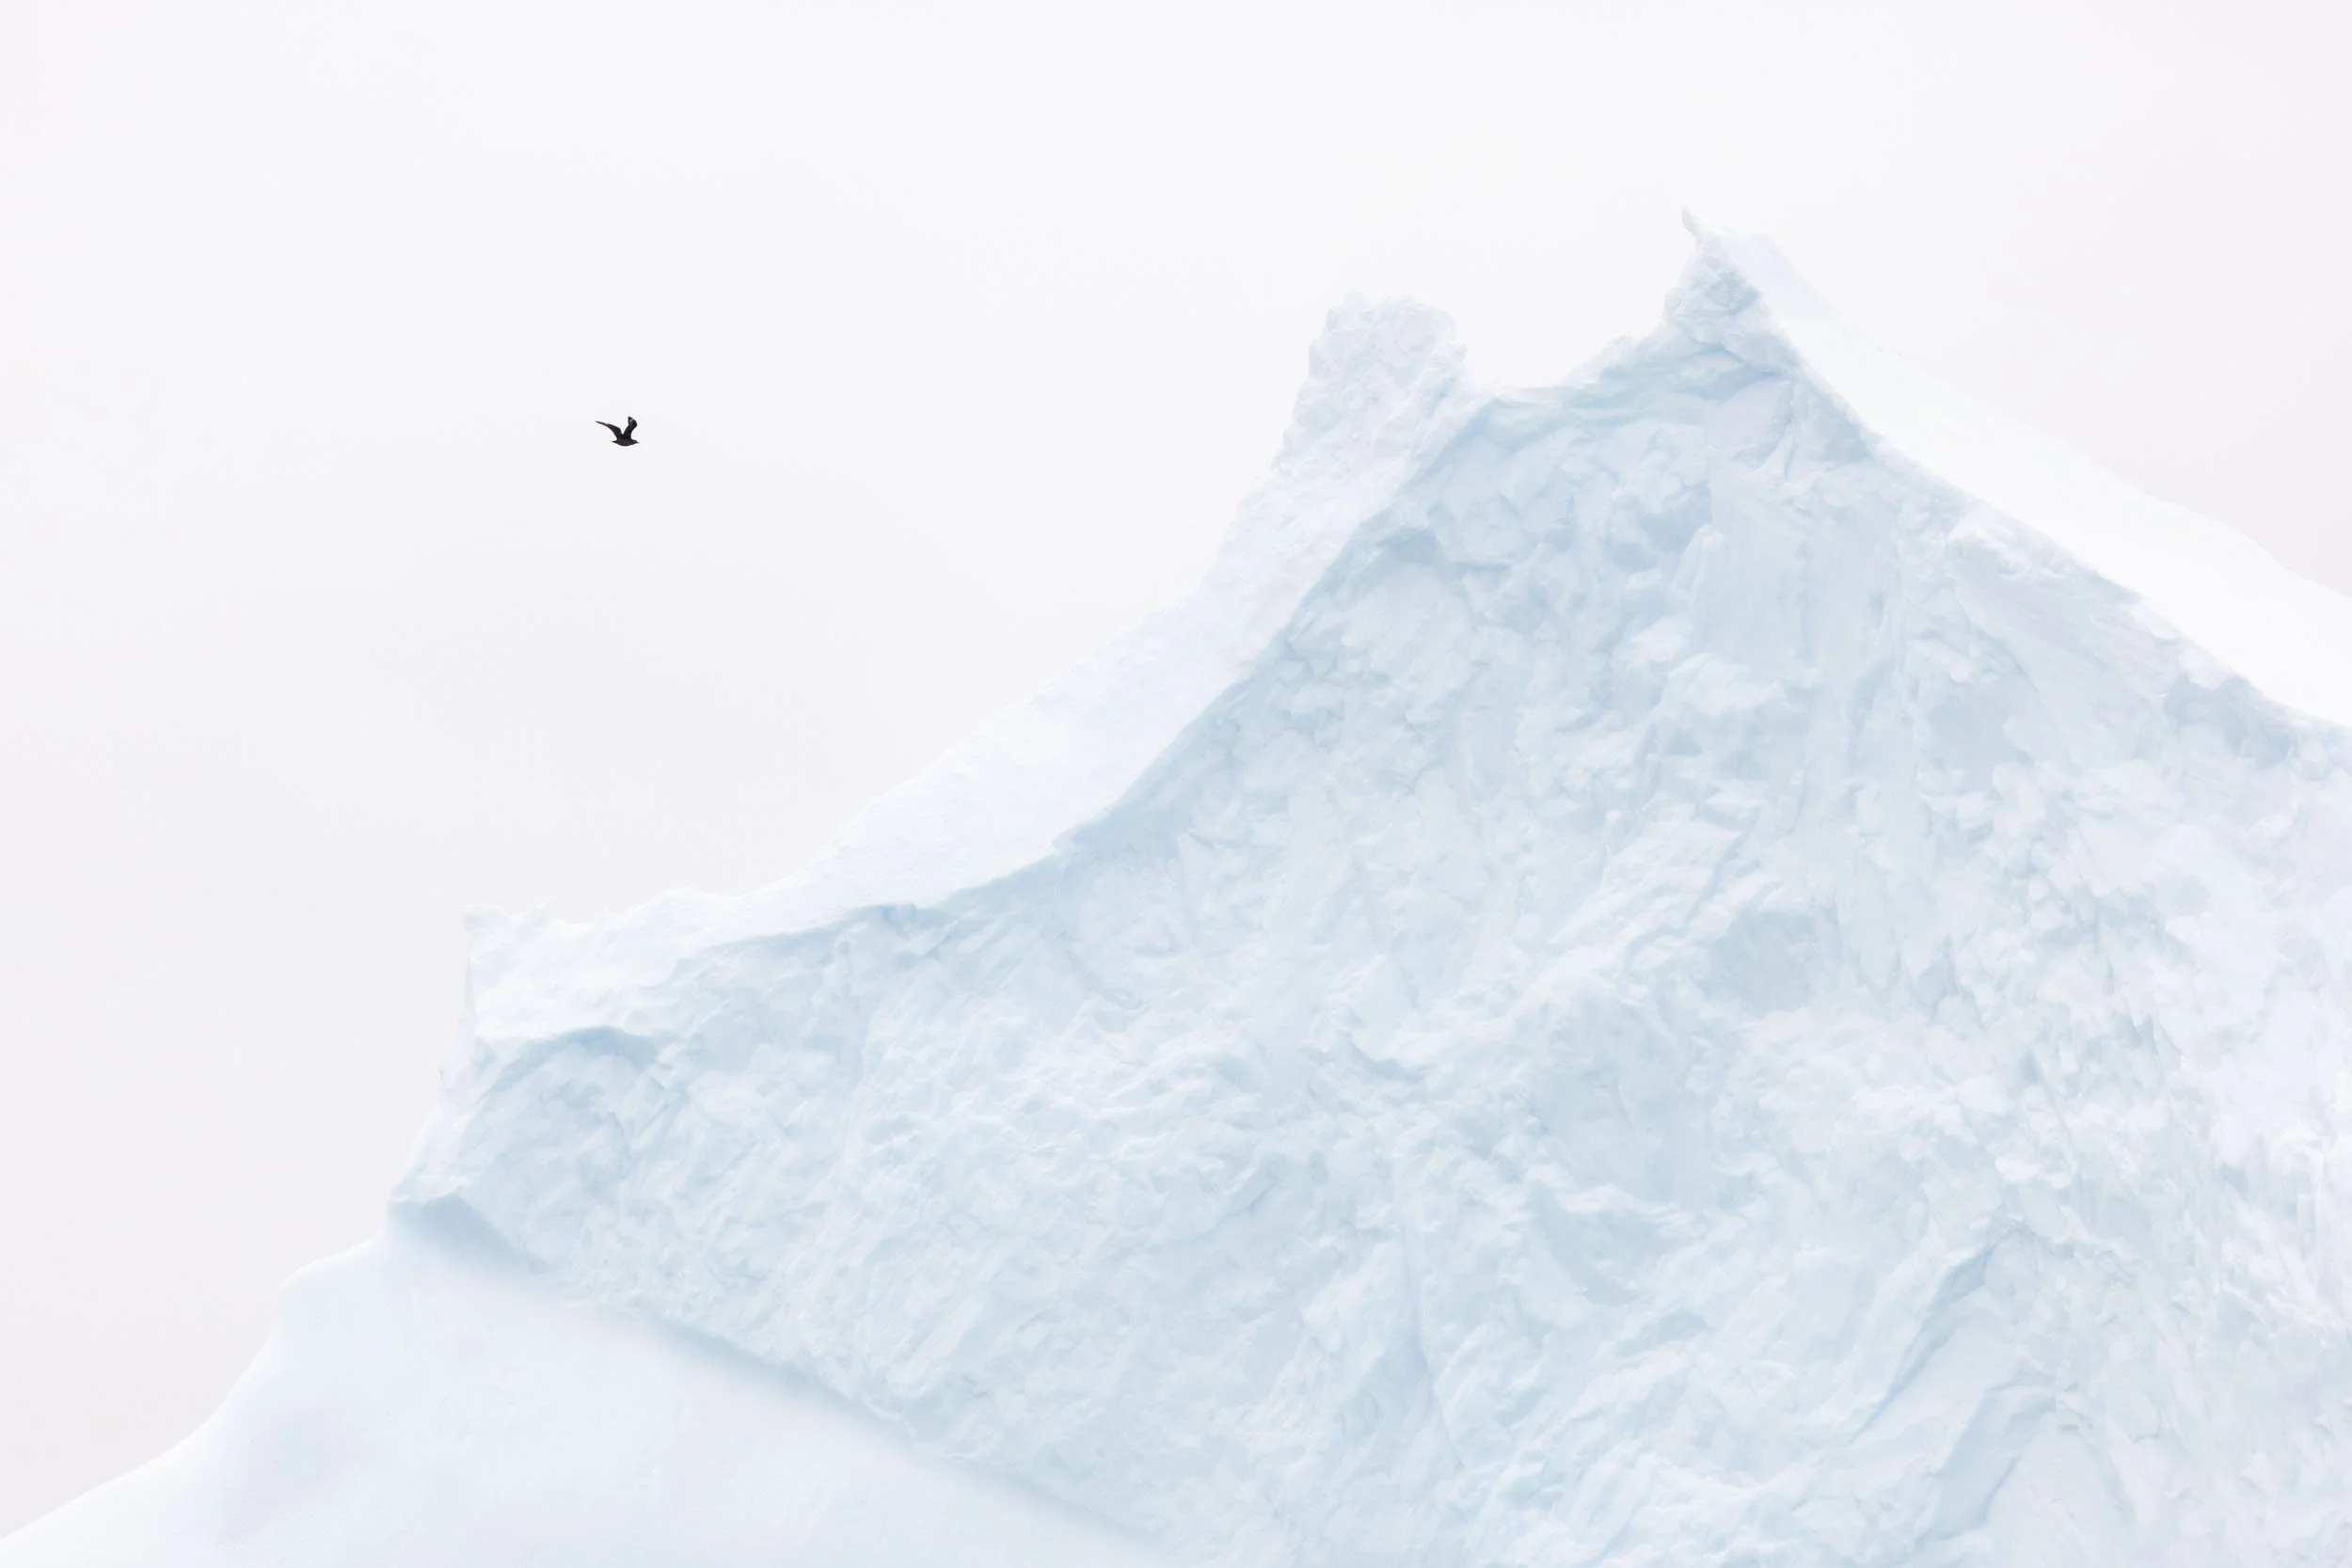
Antarctica in particular is uncommonly varied in a way that concentrates the consequences of under-preparation. In a single day, you might shoot wide-angle landscapes from the zodiac at water level, switch to a long lens for a leopard seal that surfaces twenty feet away, then board the ship and spend an hour on the upper deck photographing mountains through changing light. The cold is a constant. The wet is a constant. And the wildlife appears without warning and disappears the same way. What follows is how I thought through the kit required to meet those demands: bodies, glass, batteries, personal kit, and the cleaning ritual that became as essential as any piece of gear I packed.
Me standing near Port Charcot with two canon R5 kits: a 100-500mm long lens and a 24-70mm wide lens. © Greg Purnell
The Two-Body Question
That environment — unpredictable, fast-moving, impossible to pause — is the reason I ran two Canon R5 bodies for the duration of the expedition, and I want to be clear up front that this is a personal preference, not a requirement. Many photographers on the trip used a single body, and they came home with extraordinary work. But for the way I shoot, having two bodies felt non-negotiable, particularly on the zodiacs.
The logic is simple: in Antarctica, the environment can shift from landscape to wildlife opportunity in the space of a few seconds. A humpback surfaces. A fur seal hauls out on a bergy bit thirty meters ahead. If you are in the middle of a landscape composition with a 24mm lens on your single body and you need 400mm, you have a problem, because on a zodiac there is no room to swap lenses safely, quickly, or without risk of dropping something overboard. My solution was to keep a wide lens on one body and a long lens on the other at all times, both accessible without opening a bag.
If you are shooting with a single body, the best bridge is a high-quality super-zoom lens (something in the 100-500mm or 28-400mm range) that covers enough of the spectrum to be versatile without a body swap. The other option, which I think is underrated, is to simply commit to the story you are most interested in telling. If you are primarily a landscape photographer, bring the wide glass and own that constraint. If wildlife is the priority, bring the reach and accept that some landscape frames will be impossible.
It's also worth noting that all of the above assumes expedition-style travel, where gear lives on a ship or in a base camp and weight is largely a non-issue. Hiking and backpacking trips introduce an entirely different set of constraints — weight and pack space change the calculation in ways that have nothing to do with preference or budget. I'll get into that specifically in an upcoming post on the Patagonia trip.
(You can find a full list of the gear I own and use on my gear page.)
All of my gear opened up and laid out to dry, including my two Canon R5 bodies, RF 24-70mm, RF 100-500mm, RF 70-200mm (and RF 15-35mm, not pictured). I have a strict cleaning ritual to mitigate corrosion whenever shooting near salt water, and in this place: that means multiple cleanings per day. © Greg Purnell
The Glass
On the Canon side I brought four lenses: the RF 100-500mm, the RF 70-200mm, the RF 24-70mm, and the RF 16-35mm. The fifth body in the bag was the Fuji X-T30 II with its 27mm f/2.8, which occupies a different category entirely. Not all of them earned their place equally.
My most-used lens by a significant margin was the RF 100-500mm. It was on my long body for almost every zodiac outing, and it earned its place in a way that surprised me slightly. I had packed the RF 70-200mm as well, expecting to use it for situations where the 100-500mm felt like too much reach, but I never felt the gap in the 70-100mm range (the 100-500mm is versatile enough at the long end that the 70-200mm stayed in the bag for most of the trip). The overlap wasn't missed. If I were packing again, the 70-200mm would stay home.
The RF 24-70mm was the anchor on my wide body: the lens I reached for when I wanted context, environment, and scale. Antarctica is a place where the environment is often the subject, where the iceberg matters less than where it sits in relation to the sky and the water and the mountains behind it, and the 24-70mm gave me the flexibility to compose those relationships without committing to a single focal length.
The RF 16-35mm was more specialized, and I used it more sparingly than I expected, though when it was right, it was very right. The technique I saw Mads Peter Iversen, one of the expedition's host photographers, working with regularly was a low-angle zodiac shot: camera almost at the waterline, a bergy bit or small ice floe in the extreme foreground, an iceberg or mountain range in the background, the depth compressed and exaggerated at the same time. It takes some comfort with water very close to your front element, and it requires a stable platform (which a zodiac rarely is), but the resulting photos have a quality of immersion that a standard-height composition simply cannot achieve.
One practical note on filters: a CPL (circular polarizing filter) is worth having in your pocket for Antarctic shooting. The reflections off ice, water, and snow can be significant, and a CPL cuts through that glare in a way that post-processing cannot fully replicate. It is the one filter doing something genuinely irreversible in camera, and the window to use it is often short, so keep it accessible. The complication is lens hoods: I kept mine on most of the time to deflect spray from the front element, which makes CPL rotation more awkward since you need to reach past the hood to adjust it. A minor inconvenience, and almost always worth accepting.
Then there was the Fuji X-T30 II with the 27mm f/2.8. I had brought it primarily for street photography in Punta Arenas and around the ship, since it's compact, pocketable, and utterly unintimidating, but I ended up shooting with it in Antarctica too, including one landing where it was the only camera I brought ashore at all. At Orne Harbour, I made a deliberate decision to leave both R5s on the ship and carry only the Fuji with its single fixed focal length. It's the same reason I shoot street photography with a prime: the limitation is productive. It forces you to move, to commit, to find the frame rather than zoom your way into it. In a place as visually overwhelming as Antarctica, where the temptation is to document everything from every angle with every piece of glass you own, there is something clarifying about having only one option.
Rachel Bigsby chasing birds in flight with her NIKKOR 600mm handheld from a zodiac. © Greg Purnell
The broader question of prime versus zoom is worth addressing honestly. Zoom lenses give you flexibility, and in an environment as varied and unpredictable as Antarctica, flexibility has real value. But zoom flexibility can also become a crutch: a way of covering your options rather than making a decision. The photographers on the trip who produced the most distinctive wildlife work were shooting primes. Dani Connor was working with the Canon RF 400mm f/2.8, which gave her the combination of reach and aperture that separates a technically excellent wildlife photo from a merely good one, particularly for birds in flight where shutter speed requirements are severe and the f/2.8 buys you speed you simply cannot get at f/5.6. Rachel Bigsby was shooting the Nikon NIKKOR 600mm for bird photography, as was Nigel Danson, the expedition's lead host photographer. The reach, the speed, the rendering: primes do things zooms cannot.
I didn't have a fast prime on this trip — something I'd reconsider for the wildlife work. I did rent a Canon RF 600mm f/4 for a subsequent Svalbard trip (the lens I've started thinking of as the polar bear lens), but that's a story for a different post. For a fuller picture of what the Antarctica shooting looked like in practice, the Antarctica Field Notes post covers the experience on the ground.
Which glass serves you best, of course, depends heavily on where and how you're shooting — and in Antarctica, that changes constantly.
Shooting from small boats is a challenge, but the go-anywhere flexibility it affords makes it all worthwhile. © Greg Purnell
Platforms: Zodiac, Ship, and Land
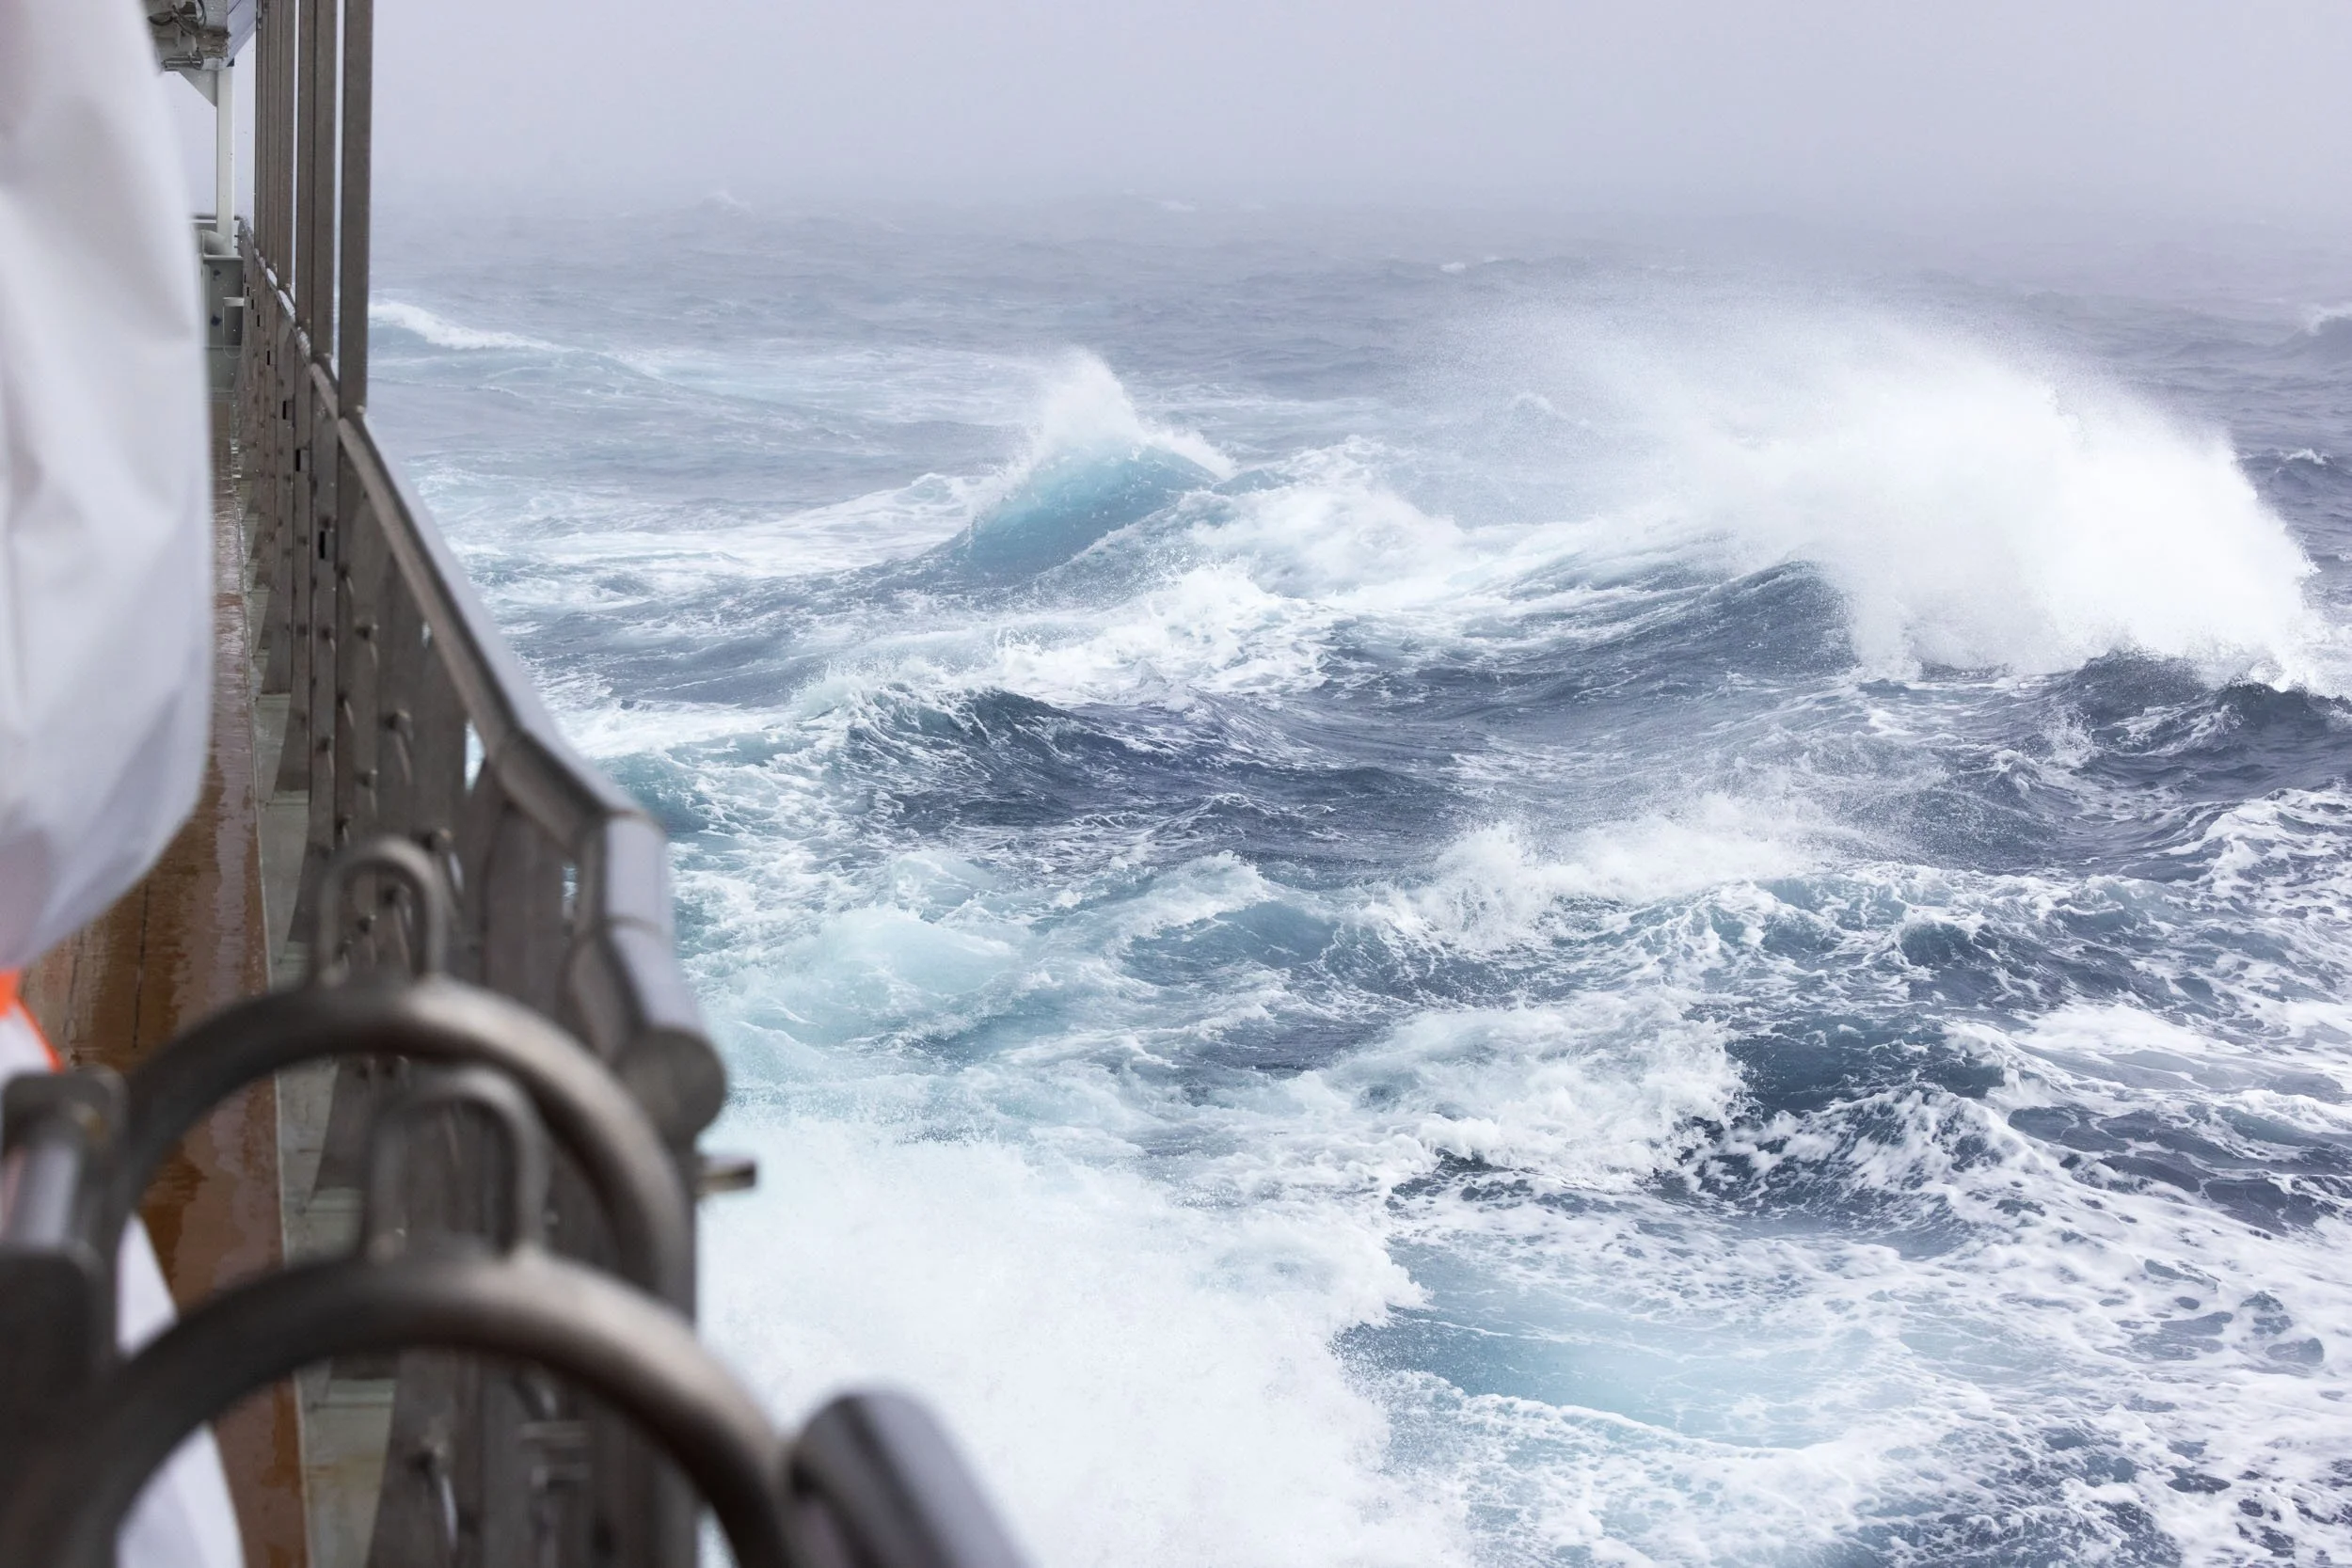
The zodiacs are the most logistically challenging, and I'll cover them in much more depth in a dedicated post on shooting from a moving platform. The short version: space is extremely limited, everything gets wet, gear moves around and can go overboard, and the combination of a life vest and multiple camera straps creates a physical puzzle you need to solve before you're on the water, not while you're on it. I kept spare batteries and filters in an easily accessible exterior pocket rather than buried in my bag, because the zodiac is not the place to be rummaging. My second body would often rest on the floor of the zodiac, lens facing aft to reduce spray exposure, which made it easy to pick up and put down without the tether becoming an issue. Always keep a microfiber cloth in an accessible pocket for the front element — water drops on the glass are invisible until you look at your photos later, at which point they are very visible indeed. Check your element frequently; it takes two seconds. Weather-sealed bodies and lenses are not optional here. They are the baseline requirement. Water inside a camera body is not a repair problem. It is a camera replacement problem.
It’s hard not to have fun shooting from a zodiac. © Greg Purnell
On the rare windless morning, getting down low can help to accentuate the reflections. © Greg Purnell
The ship offers more stability but different constraints. Long lens work from the rail was common and often rewarding; one of my favorite incidental photos from the trip was taken looking up at the upper deck during a whale sighting, all the lenses extended out over the railing at once, which said something honest about the experience of being on an expedition ship with a group of photographers. Having outdoor access on both deck 8 and deck 4 gave me the option of shooting from different heights, which matters more than it might sound: being closer to the water level changes the relationship between the ship, the sea, and whatever is happening in it.
Shooting from the ship is a regular 24/7 occurrence. © Greg Purnell
Land is the most forgiving platform, and the one where a tripod has the most to offer. I brought a carbon fiber tripod and used it when I had the patience for it, but I'll admit I didn't slow down enough as often as I should have. The light in Antarctica changes fast, and the reflex is always to shoot handheld and keep moving. The tripod rewards the sessions where you can make yourself stop and wait, which is a discipline worth cultivating even if, like me, you don't always manage it.
Penguins own this hut now. Shot while standing on firm, dry land on Petermann Island. © Greg Purnell
Batteries in the Cold
Cold reduces battery capacity in a way that is well documented and still, somehow, always slightly more significant than you expect. My system was built around never being caught without power, because the shot you miss for want of a battery is inevitably the one you most wanted.
I brought nine battery packs for the two R5 bodies, which sounds like a lot until you think through the rotation. I ran a battery grip on my wide-lens body when I expected longer shoots, since the grip doubles the available capacity and also makes vertical shooting more comfortable by replicating the controls at the bottom of the frame. (I didn't run the grip on my long-lens body; the 100-500mm is already a significant amount of weight, and adding a grip made the combination unwieldy.) At the start of every shoot, all batteries in both cameras were fresh and fully charged. I kept a set of spare fully charged batteries in an accessible pocket (typically three spares, to cover a standard body and a grip body), and I rotated them through as needed. The morning's depleted batteries went back to the ship to recharge while I was shooting with the evening's fresh set.
We were never out for more than about four hours on a single outing, which meant that running completely dry was unlikely but not impossible in very cold conditions. The practical rule I followed: if you can keep your spare batteries in an inner chest pocket rather than an outer bag pocket, do it. The warmth extends their available capacity in a measurable way. And when you are planning a shoot, assume your batteries will perform at roughly two-thirds of their rated capacity in cold conditions, and pack accordingly.
The same logic applies to memory cards. I always carried at least one spare card in the same accessible pocket as my spare batteries — I shoot primarily on 128GB dual-slot cards, and I never needed to swap on a shoot, but the card you don't have when you need it is a different kind of loss than a dead battery. Storage management in the field is its own discipline, and I'll cover it properly in an upcoming post on data management on location.
All of that—the battery rotation, the spare cards, the accessible pockets—assumes you can actually function in the environment. Which brings us to the personal kit.
Dani Connor staying warm in her expedition jacket. © Greg Purnell
Staying Warm, Staying Functional
The layering system I used was merino wool base layer, a mid-layer of fleece pants and a sweater, and then North Face insulated snow pants and an outer waterproof shell on top. Aurora Expeditions provided an excellent insulated outer jacket with an inner vest system as part of the expedition kit, which worked exceptionally well and, practically speaking, saved me from having to pack an outer layer of my own. That mattered, because the flight into Antarctica on a small charter plane came with strict weight limits that forced some difficult packing decisions. The muck boots were also provided by the ship. Every outer layer should be waterproof, without exception. You will get wet. Plan for it rather than hoping to avoid it.
Hands are the one place the layering logic gets complicated by the camera. The camera-specific challenge is finding the balance between warmth and the ability to operate controls — thick enough to keep your fingers functional, thin enough to feel the buttons. I brought gloves with foldable fingertips specifically so I could expose my fingers for fine adjustments when needed, and I did use that feature occasionally, though less than I expected, because it was generally too cold to keep fingers exposed for any length of time. My actual approach was medium-weight waterproof gloves, sometimes over a thin liner glove in colder conditions. The controls on the R5 are operable with medium-weight gloves on; it takes a little more deliberate pressure for some buttons, but it is workable.
Keeping yourself functional in the environment is only half the equation. The other half is keeping your gear functional after it — and that is where most photographers underinvest.
You never want to miss “the shot,” especially when there are leopard seals around. © Greg Purnell
The Cleaning Ritual
This one is non-negotiable, and I want to be direct about why: salt water corrosion is not always immediately visible. It develops over days or weeks, quietly, inside the crevices and connections of your gear, and by the time you see it, the damage is already done. Shooting in salt water environments without a cleaning protocol is not a calculated risk. It is deferred damage.
After every shoot in Antarctica, the ritual was the same:
Disconnect all lenses from the bodies.
Remove the battery grips.
Pull the batteries and memory cards.
Extend the zoom barrels on the lenses so the inner barrel seams are accessible.
Lay everything out on the bed.
Dry the components off, then wipe them down with a cloth dampened with fresh water (not just a dry wipe — a dry wipe moves salt around rather than removing it).
Dry them again, then allow everything to air dry fully before reassembly.
Repeat the same process for the tripod, battery grip contacts, and the exterior of the battery packs.
The difficult part is discipline under time pressure. There were sessions when we had another planned shoot within the hour, which meant the cleaning ritual was happening while I was also trying to eat something, charge the depleted batteries, and be back to the mudroom in time for the zodiac. The ritual is the cost of working in this environment. It is worth it every time.
A colony of gentoo penguins, young and old, gathered on a rock near Port Charcot. © Greg Purnell
Final Thoughts
The $800 repair to the 24-70mm happened because I was moving fast and not thinking about the equipment because I was thinking about the shot. That is exactly as it should be. The gear is supposed to disappear into the act of shooting; when you are worrying about the camera, you are not seeing the frame. All of that preparation — the cleaning ritual, the battery rotation, the two-body system worked out in advance, the microfiber cloth in the accessible pocket — exists so that in the moment when the leopard seal surfaces alongside the zodiac, the only thing in your mind is where to point the lens.
Cold expedition environments do not forgive improvised systems. But they reward thought-out ones, and the thinking is almost all done before you leave home. The kit that serves you well on the Antarctic Peninsula serves you equally well on a zodiac in Svalbard or a hillside in Patagonia, because the underlying demands are the same. Build it carefully, with a clear sense of what you're going to face and a realistic assessment of what you're going to need. Get that right, and the environment handles the rest.
— Greg
Coming next: The story of getting here—stranded in Punta Arenas, a photo walk that changed the tone of the whole trip, and a charter flight to a gravel runway at the edge of the world.